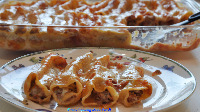
Cannelloni w/ground Meat & Cream
🍝 Κανελόνια με Κιμά και Κρέμα Γάλακτος
Serves 6 persons
Cannelloni are a beloved Italian dish with a type of pasta, shaped like large tubes. They are also much admired in Greece.
Their difference to other pasta is that you don't need to boil them separately. However, they aren’t as easy to prepare as lasagna (check my separate recipe), since they do need time to fill them up.
When baked, this distinctive pasta gets very moist with a luscious filling of ground meat, fresh cream, sweet tomato sauce plus a generous sprinkle of grated, chewy cheeses!
Let’s see how to prepare them.
INGREDIENTS:
Ingredients to fill the Cannelloni:
250 gr / 9 oz / 24-25 pcs. Cannelloni
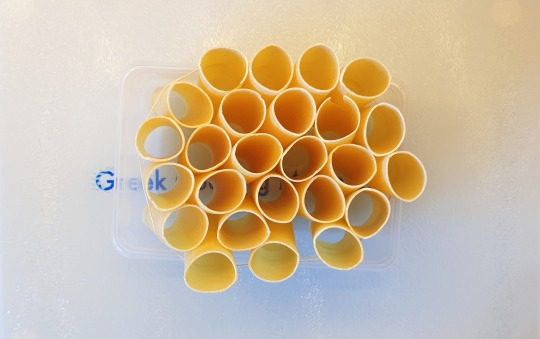
2 large Eggs
500 ml/ 2 cups Single (fresh) Cream light
0.5 cup / 85 gr/ 3 oz or more, grated Graviera Cheese (Altern: Gruyere, White mild Cheddar)
0.5 cup / 100 gr / 3.5 oz or more, grated Parmesan Cheese (Altern: Pecorino, Kefalotyri)
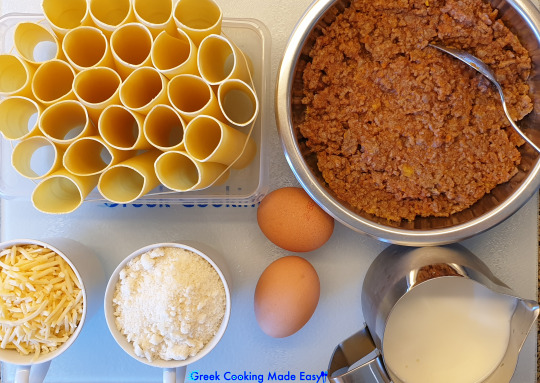
Ingredients for the ground meat Filling:
750 gr- 800 gr/ 1 lb 10 oz – 1.75 lb Ground Beef
350 gr / 12 oz Thick Tomato Sauce with tomato pcs (can)
2.5 tbsp / 37 ml Tomato paste/puree
2 medium dry Onions, chopped
1 tbsp. Sugar
100 ml / 0.4 cup Vegetable Oil
2-3 Bay leaves
Salt and ground Pepper
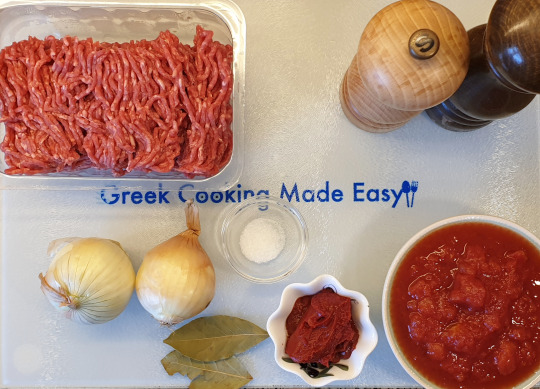
Ingredients for the Easy Tomato Sauce:
500 gr / 1 lb 2 oz Thick Tomato Sauce with tomato pcs (can)
1 dry Sweet Onion, finely chopped
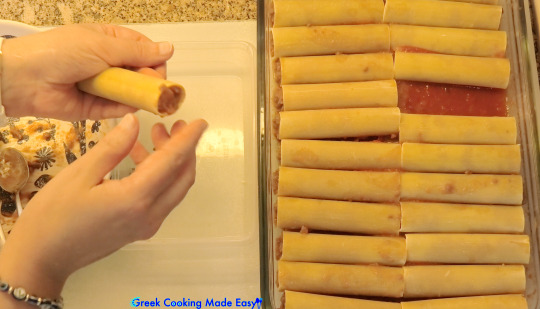
45 ml / 3 tbsp. Olive Oil
120 ml / 0.5 cup Water
Salt and ground Pepper
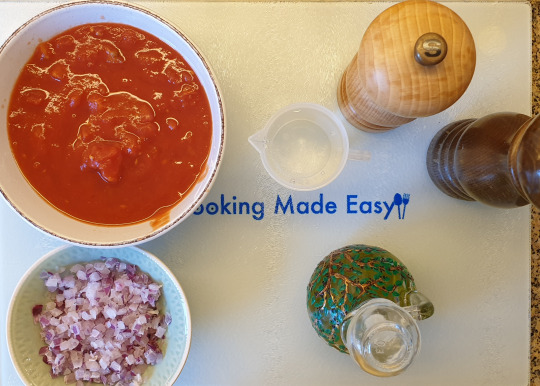
METHOD:
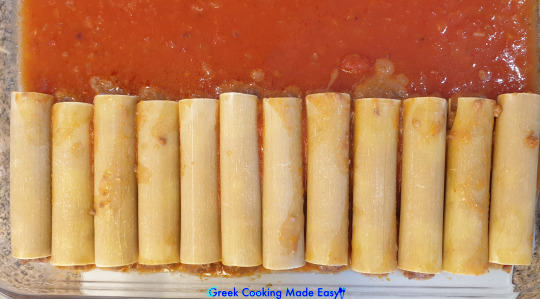
A. Make the Ground meat filling ahead of time (previous day!!):
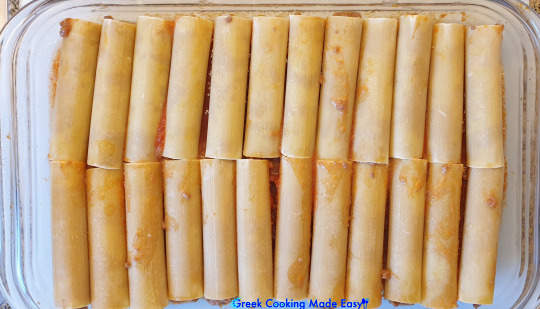
1. Pour some vegetable oil into a deep, wide pan, over medium-high heat.
2. When it heats up, add the chopped onions.
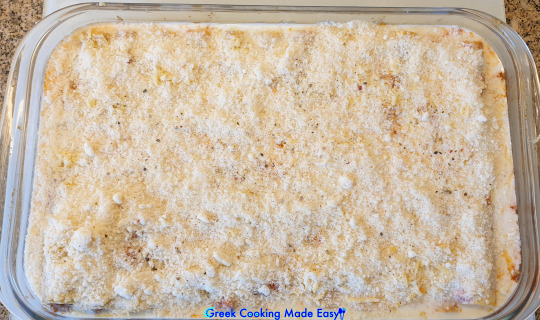
3. Let it sauté for 2'-3'.
4. Then add the ground beef, breaking it into small pieces with your (gloved) hands & the wooden spatula.
5. Let it sauté for 5'-6' until brown all around, stirring regularly.
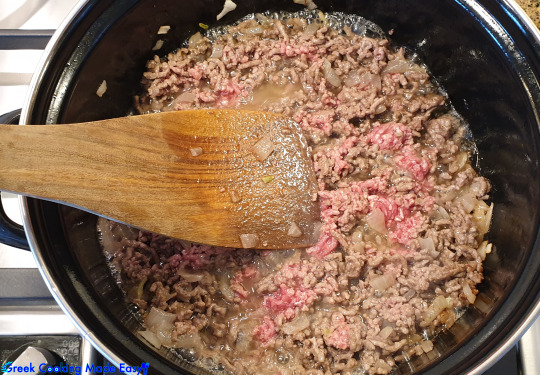
6. Reduce heat and add the sugar & season with Salt and ground pepper, to taste. Mix to blend them in.
7. Add next the tomato paste and tomato sauce.
8. Dip the bay leaves in the sauce.
9. Let the sauce simmer for 10' (no need to add water).
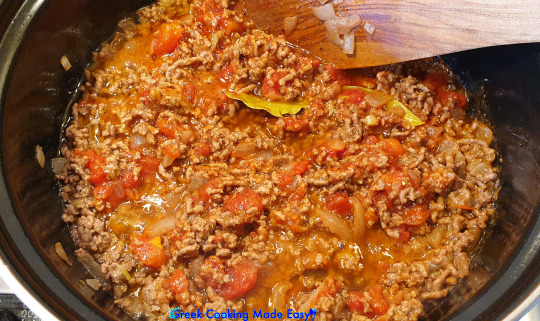
10. Then, turn off the heat. Let it cool down.
11. TIP: To lessen the work load, prepare the ground meat sauce the previous day, place it in a bowl and store it covered in the fridge!
B. Prepare an easy tomato sauce:
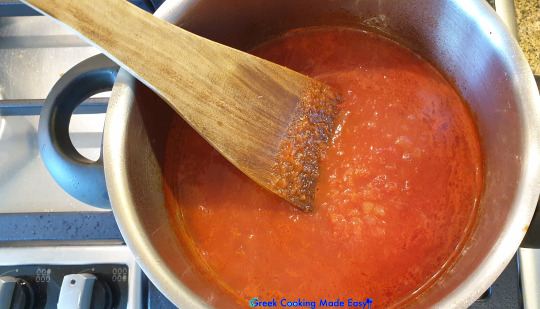
12. Beat the thick tomato sauce (with tomato pieces) with a hand blender or food processor until it becomes a thick mash!
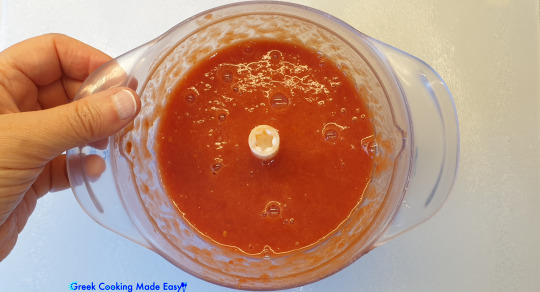
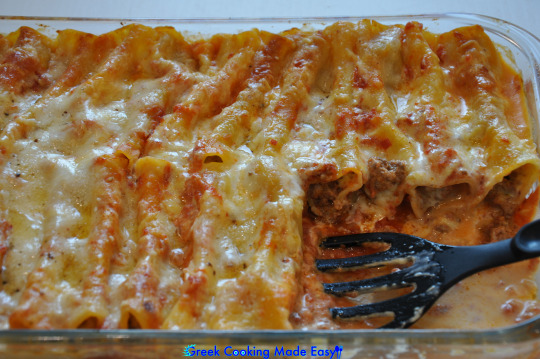
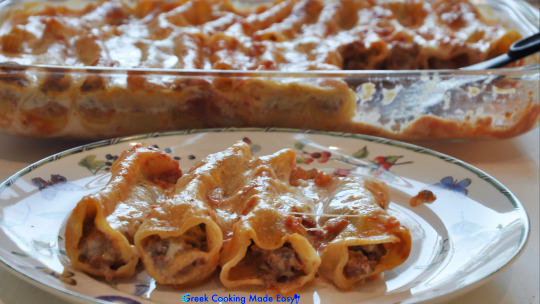
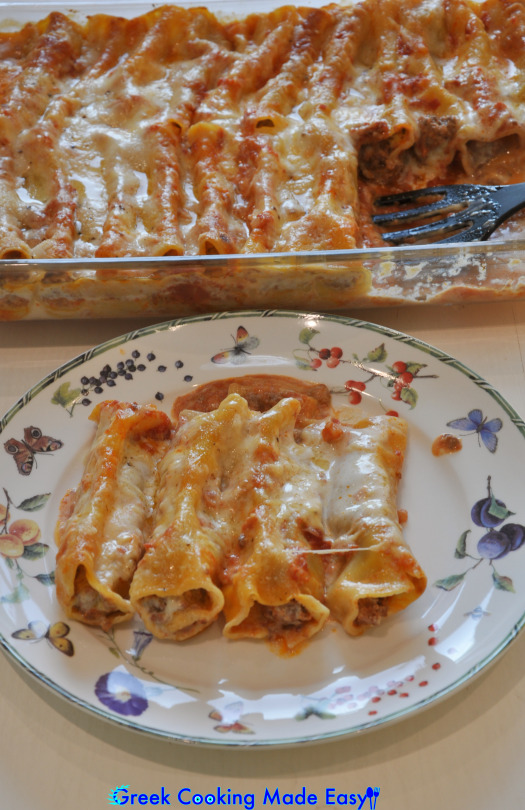
13. Place a medium pot over medium heat and pour some olive oil in it.
14. When it heats up, add the chopped onion and let it sauté for 2'-3'.
15. Lower the heat and pour the mashed tomato sauce and water in the pot.
16. Season with Salt and ground pepper, to taste. Stir to blend them in.
17. Bring slowly to a boil and simmer, until the sauce starts to thicken (about 10').
18. Then, turn off the heat!
C. Prepare the Cannelloni filling:
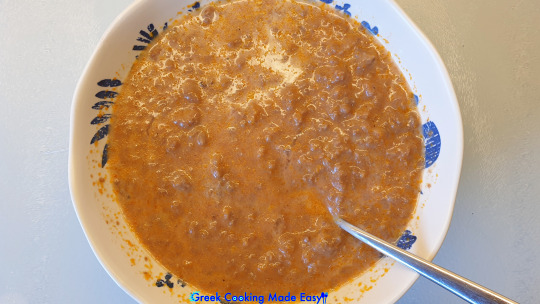
19. Break the 2 eggs in a bowl and whisk them.
20. Pour just a bit of the fresh cream on top.
21. Bring the ground meat from the fridge (it needs to be cold!) and place it in the bowl as well.
22. Mix all ingredients well to incorporate them.
D. Prepare the Cannelloni:
23. Bring the filling and the empty cannelloni next to each other.
24. Use a rectangle Pyrex dish of 23 x 35 cm / 9 x 14 in.
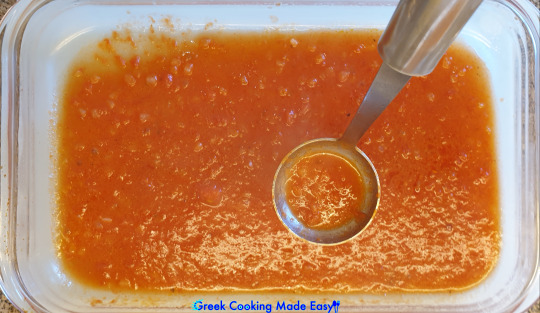
25. Pour about half of the tomato sauce at the bottom of the oven dish.
26. Next, take one Cannelloni, place it vertically in your palm and fill it up, using a small spoon.
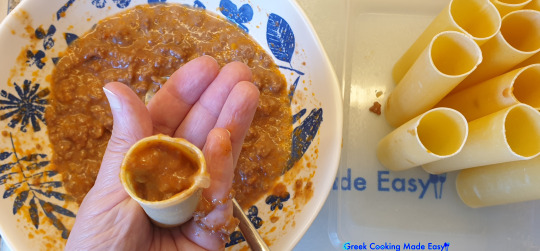
27. Place it flat in the tray on top of the tomato sauce.
28. Repeat with filling all the Cannelloni.
29. Don't worry if the filling looks a bit runny. That's needed in order for the Cannelloni to be thoroughly baked in the oven!
30. This is the last Cannelloni and the filling was just enough. If you happen to have leftover filling, you can scatter it on top!
31. Next, pour the rest of the tomato sauce on top, making sure it goes everywhere.
32. Now pour the cream on top.
33. Lastly, sprinkle the grated cheeses all over, on top of the Cannelloni! You can use even more than what I write in the recipe!
34. Optionally, season with a bit more ground pepper, on top.
35. Cover the oven dish with a large parchment paper.
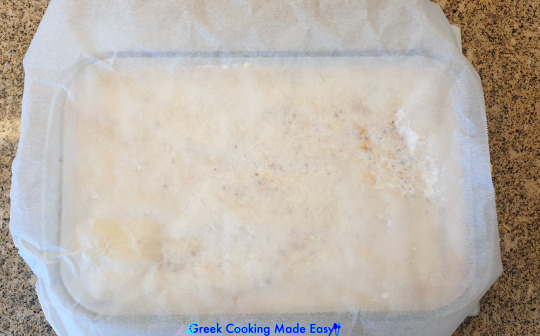
36. Cannelloni are now ready for baking!!
E. Baking instructions:
37. Bake the covered Cannelloni in a preheated oven, both bottom and top heating elements on @180℃ / 350℉, first for 25', at the bottom shelf!
38. After 25', open the oven and carefully remove the parchment paper.
39. Return the tray in the oven and bake Cannelloni for an extra 15'-18' or until golden and soft (depending on the oven).
40. After about 18' (or a total baking time of 43'), Cannelloni should be done.
41. You can also check with a fork. If the Cannelloni are easily pierced through, they are baked!
42. Remove baked Cannelloni from the oven and place on a rack to cool down a bit and set.
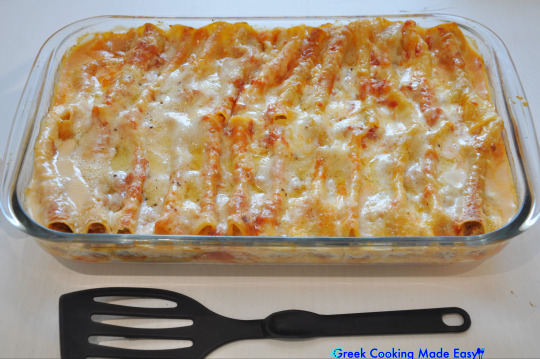
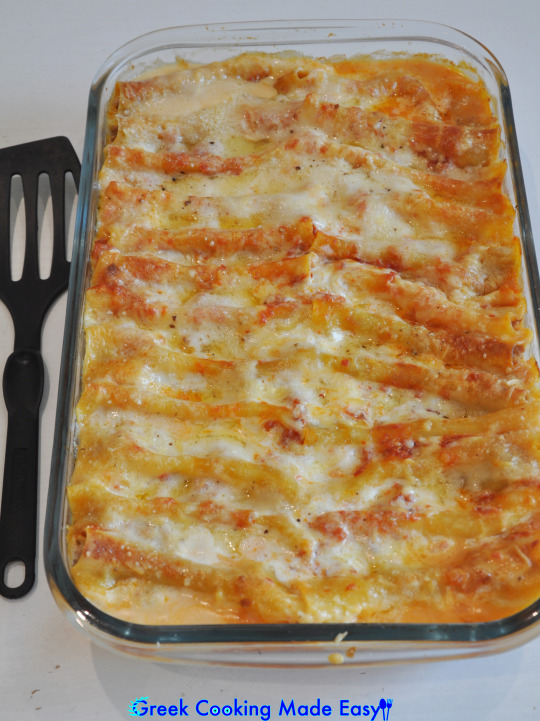
43. Do I hear hooray?!
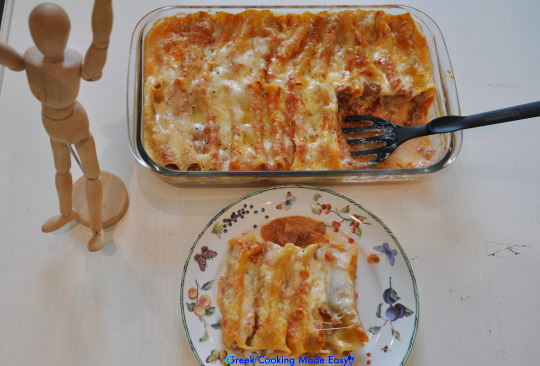
44. Time to serve while they are still warm! My kitchen smells amazing! Each portion gets 4 Cannelloni (don't cheat 😀😋)!
45. Superb, luscious, moist and so appetising!! The cheeses have melted beautifully creating a chewy, golden crust.
46. Plenty of yummy tomato sauce in the tray!!
F. Storing info:
After baking, the cooled Cannelloni can be stored in the fridge (covered) for up to a week.
G. Serving Suggestion:
Cannelloni are an amazing, full meal just by themselves. Serve them with a simple Greek Lettuce Salad (check my separate recipe).
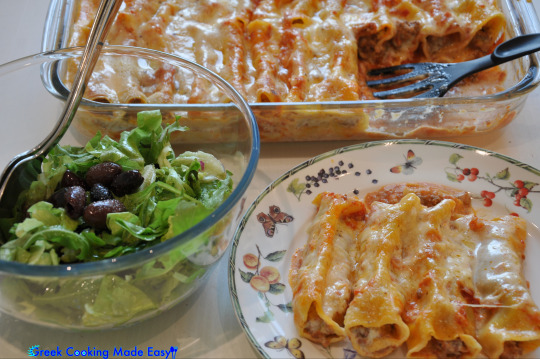
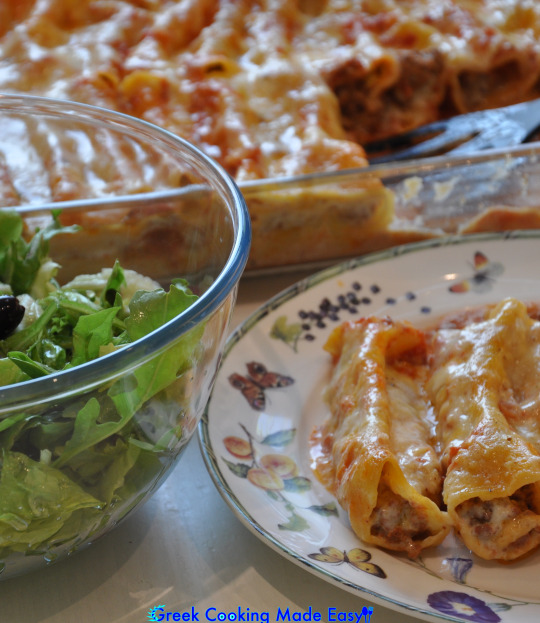
Come on over for a kerasma-treat!

Here they are in my plate, ready to be devoured!
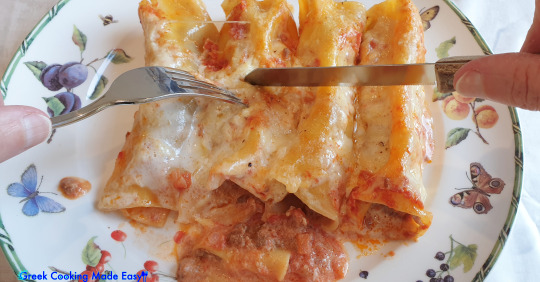
Enjoy!
Check my YouTube Video: HERE

Κανελόνια με Κιμά και Κρέμα Γάλακτος
BY: Greek Cooking Made Easy
https://www.youtube.com/greekcookingmadeeasy
Σερβίρει 6 άτομα
Το Cannelloni είναι ένα αγαπημένο ιταλικό πιάτο με έναν τύπο ζυμαρικών, σε σχήμα μεγάλου σωλήνα. Είναι πολύ αγαπημένα και στην Ελλάδα.
Η διαφορά τους με άλλα ζυμαρικά είναι ότι δεν χρειάζεται να τα βράσετε ξεχωριστά. Ωστόσο, δεν είναι τόσο εύκολο να ετοιμαστούν όσο τα λαζάνια (κοιτάξτε τη ξεχωριστή μου συνταγή), αφού χρειάζεται χρόνος για να τα γεμίσετε.
Τα ξεχωριστά αυτά ζυμαρικά γίνονται πολύ ζουμερά, ψημένα με νόστιμη γέμιση κιμά, φρέσκια κρέμα γάλακτος, γλυκιά σάλτσα ντομάτας, καθώς και μια στρώση από πλούσια, πασπαλισμένα, τριμμένα, μαστιχωτά τυριά!
Πάμε να δούμε τη συνταγή.
ΥΛΙΚΑ:
Υλικά για να γεμίσετε τα Κανελόνια:
250 γρ / 9 oz / 24-25 κομ. Κανελόνια

2 μεγάλα Αυγά
500 ml / 2 φλ. Κρέμα Γάλακτος (με χαμηλά λιπαρά)
0,5 φλ. / 85 γρ / 3 oz ή και περισσότερο, τριμμένο Τυρί Γραβιέρα (εναλλακτικά: Ελβετική Γραβιέρα, λευκό ήπιο Τσένταρ)
0,5 φλ. / 100 γρ / 3,5 oz ή και περισσότερο, τριμμένο τυρί Παρμεζάνα (εναλλακτικά: Κεφαλοτύρι, Πεκορίνο)

Υλικά για τη γέμιση Κιμά:
750 γρ - 800 γρ / 1 lb 10 oz - 1,75 lb Μοσχαρίσιος Κιμάς
350 γρ / 12 oz έτοιμη Σάλτσα Ντομάτα με κομματάκια ντομάτας (κονσέρβας)
2,5 κ.σ. / 37 ml Ντοματοπελτές
2 μέτρια ξερά Κρεμμύδια, κομμένα
1 κ.σ. Ζάχαρη
100 ml / 0,4 φλ. φυτικό Λάδι
2-3 Φύλλα Δάφνης
Φρεσκοαλεσμένο Αλάτι και Πιπέρι

Υλικά για την εύκολη σάλτσα Ντομάτα:
500 γρ / 1 lb 2 oz έτοιμη Σάλτσα Ντομάτας με κομματάκια ντομάτας (κονσέρβας)
1 ξερό γλυκό Κρεμμύδι, ψιλοκομμένο
45 ml / 3 κ.σ. Ελαιόλαδο
120 ml / 0,5 φλ. Νερό
Φρεσκοαλεσμένο Αλάτι και Πιπέρι

ΜΕΘΟΔΟΣ:
Α. Φτιάξτε τη γέμιση Κιμά νωρίτερα (καλύτερα τη προηγούμενη μέρα!!):
1. Ρίξτε το λάδι σε μια πλασοτέ κατσαρόλα, πάνω από μέτρια-δυνατή φωτιά.
2. Μόλις ζεσταθεί, προσθέστε τα κομμένα κρεμμύδια.
3. Αφήστε τα να σοταριστούν για 2'-3'.
4. Στη συνέχεια προσθέστε το κιμά, σπάζοντάς το σε μικρά κομμάτια με τα χέρια σας (με γάντια) και μια ξύλινη σπάτουλα.
5. Αφήστε το κιμά να σοταριστεί για 5'-6' μέχρι να ροδίσει, ανακατεύοντας τακτικά.

6. Χαμηλώστε τη φωτιά και προσθέστε τη ζάχαρη και αλατοπιπερώστε. Ανακατέψτε τα.
7. Προσθέστε στη συνέχεια το ντοματοπελτέ και τη σάλτσα ντομάτα.
8. Βουτήξτε στη σάλτσα τα φύλλα δάφνης.
9. Αφήστε τη σάλτσα κιμά να σιγοβράσει για 10' (δεν χρειάζεται να προσθέσετε νερό).
10. Στη συνέχεια, σβήστε τη φωτιά. Αφήστε το κιμά να κρυώσει καλά.

11. ΣΥΜΒΟΥΛΗ: Για να μειώσετε το φόρτο εργασίας, ετοιμάστε την σάλτσα κιμά την προηγούμενη ημέρα, τοποθετήστε το σε ένα μπολ και φυλάξτε το καλυμμένο στο ψυγείο!
Β. Ετοιμάστε μια εύκολη σάλτσα Ντομάτα:
12. Χτυπήστε την έτοιμη σάλτσα ντομάτα (με κομματάκια ντομάτας) με ένα μπλέντερ χειρός ή επεξεργαστή τροφίμων μέχρι να γίνει ένας παχύρρευστος πουρές!

13. Τοποθετήστε μια μεσαία κατσαρόλα πάνω από μέτρια φωτιά και προσθέστε λίγο ελαιόλαδο.
14. Μόλις κάψει, προσθέστε το ψιλοκομμένο κρεμμύδι και αφήστε το να σοταριστεί για 2'-3'.
15. Χαμηλώστε τη φωτιά και ρίξτε το πουρέ από τη σάλτσα ντομάτα και το νερό στην κατσαρόλα.
16. Αλατοπιπερώστε. Ανακατέψτε για να τα συνδυάσετε.
17. Σιγοβράστε τη σάλτσα, έως ότου αρχίσει να πυκνώνει (περίπου 10').
18. Τότε, σβήστε τη φωτιά!

Γ. Ετοιμάστε τη γέμιση για τα Κανελόνια:
19. Σπάστε τα 2 αυγά σε ένα μπολ και χτυπήστε τα με τον αυγοδάρτη.
20. Ρίξτε λίγη από την κρέμα γάλακτος από πάνω.
21. Φέρτε το κιμά από το ψυγείο (πρέπει να είναι κρύος!) και βάλτε και αυτόν στο μπολ.
22. Ανακατέψτε καλά όλα τα υλικά για να ομογενοποιηθούν.

Δ. Ετοιμάστε το Κανελόνια:
23. Φέρτε τη γέμιση και τα κενά κανελόνια δίπλα δίπλα.
24. Χρησιμοποιήστε ένα στενόμακρο ταψί Pyrex 23 x 35 cm / 9 x 14 in.

25. Ρίξτε περίπου τη μισή σάλτσα ντομάτα στο κάτω μέρος του ταψιού.
26. Στη συνέχεια, πάρτε ένα Κανελόνι, τοποθετήστε το κάθετα στην παλάμη σας και γεμίστε το, χρησιμοποιώντας ένα μικρό κουτάλι.

27. Τοποθετήστε το τώρα επίπεδο (ξαπλωτό) στο ταψί σας πάνω από τη σάλτσα ντομάτα.
28. Επαναλάβετε γεμίζοντας όλα τα Κανελόνια.

29. Μην ανησυχείτε αν η γέμιση φαίνεται λίγο αραιή. Αυτό χρειάζεται για να ψηθούν καλά τα Κανελόνια στο φούρνο!
30. Αυτό είναι το τελευταίο Κανελόνι και η γέμιση μου έφτασε ακριβώς. Αν τυχαίνει να σας περισσέψει, μπορείτε να την απλώσετε από πάνω τους!


31. Στη συνέχεια, ρίξτε την υπόλοιπη σάλτσα ντομάτας πάνω από τα γεμισμένα κανελόνια, και βεβαιωθείτε ότι έχει πάει παντού.
32. Κατόπιν ρίξτε την κρέμα γάλακτος από πάνω.
33. Τέλος, πασπαλίστε τα τριμμένα τυριά πάνω από τα Κανελόνια! Μπορείτε να χρησιμοποιήσετε, αν θέλετε, ακόμη περισσότερη ποσότητα από αυτή που γράφω στη συνταγή!
34. Προαιρετικά, προσθέστε λίγο περισσότερο πιπέρι, από πάνω.

35. Καλύψτε τώρα το ταψί σας με ένα μεγάλο αντικολλητικό χαρτί.

36. Τα Κανελόνια είναι τώρα έτοιμα για ψήσιμο!!
Ε. Οδηγίες ψησίματος:
37. Ψήστε το καλυμμένο ταψί με τα Κανελόνια σε προθερμασμένο φούρνο, με τις αντιστάσεις πάνω κάτω στους @ 180 ℃ / 350 ℉, πρώτα για 25', στο κάτω ράφι!
38. Μετά από 25', ανοίξτε το φούρνο και αφαιρέστε προσεκτικά το αντικολλητικό χαρτί.
39. Επιστρέψτε το ταψί στο φούρνο και ψήστε τα Κανελόνια για επιπλέον 15'-18' ή μέχρι να χρυσίσουν και να μαλακώσουν (ανάλογα με το φούρνο).
40. Μετά από περίπου 18' (ή συνολικό χρόνο ψησίματος 43'), τα Κανελόνια πρέπει να έχουν γίνει.
41. Μπορείτε επίσης να ελέγξετε με ένα πιρούνι. Εάν τα Κανελόνια διαπερνιούνται εύκολα, τότε έχουν ψηθεί!
42. Αφαιρέστε τα ψημένα κανελόνια από το φούρνο και τοποθετήστε τα στο πάγκο της κουζίνας για να κρυώσουν λίγο και να δέσουν.


43. Μήπως ακούω ΖΗΤΩ;!

44. Ώρα για σερβίρισμα όσο είναι ακόμα ζεστά! Η κουζίνα μου μυρίζει καταπληκτικά! Κάθε μερίδα έχει 4 Κανελόνια (μην κλέβετε 😀😋)!

45. Υπέροχα, λαχταριστά, ζουμερά και τόσο ορεκτικά!! Τα τυριά έχουν λιώσει υπέροχα δημιουργώντας μια μαστιχωτή, χρυσή κρούστα.

46. Και έχει και πολλή και νόστιμη σάλτσα ντομάτα στο ταψί!!

Ζ. Πληροφορίες φύλαξης:
Μετά το ψήσιμο, τα κρύα Κανελόνια μπορούν να φυλαχτούν στο ψυγείο (καλυμμένα) για έως και μία εβδομάδα.
Η. Πρόταση Σερβιρίσματος:
Τα Κανελόνια είναι ένα καταπληκτικό, πλήρες γεύμα από μόνα τους. Σερβίρετε τα με μια απλή Μαρουλοσαλάτα (κοιτάξτε τη ξεχωριστή συνταγή μου).


Ελάτε για να σας κεράσω!

Εδώ είναι στο πιάτο μου, έτοιμα να καταβροχθιστούν!

Απολαύστε τα!
Κοιτάξτε επίσης την συνταγή μου σε YouTube βίντεο, το λίνκ είναι: ΕΔΩ


